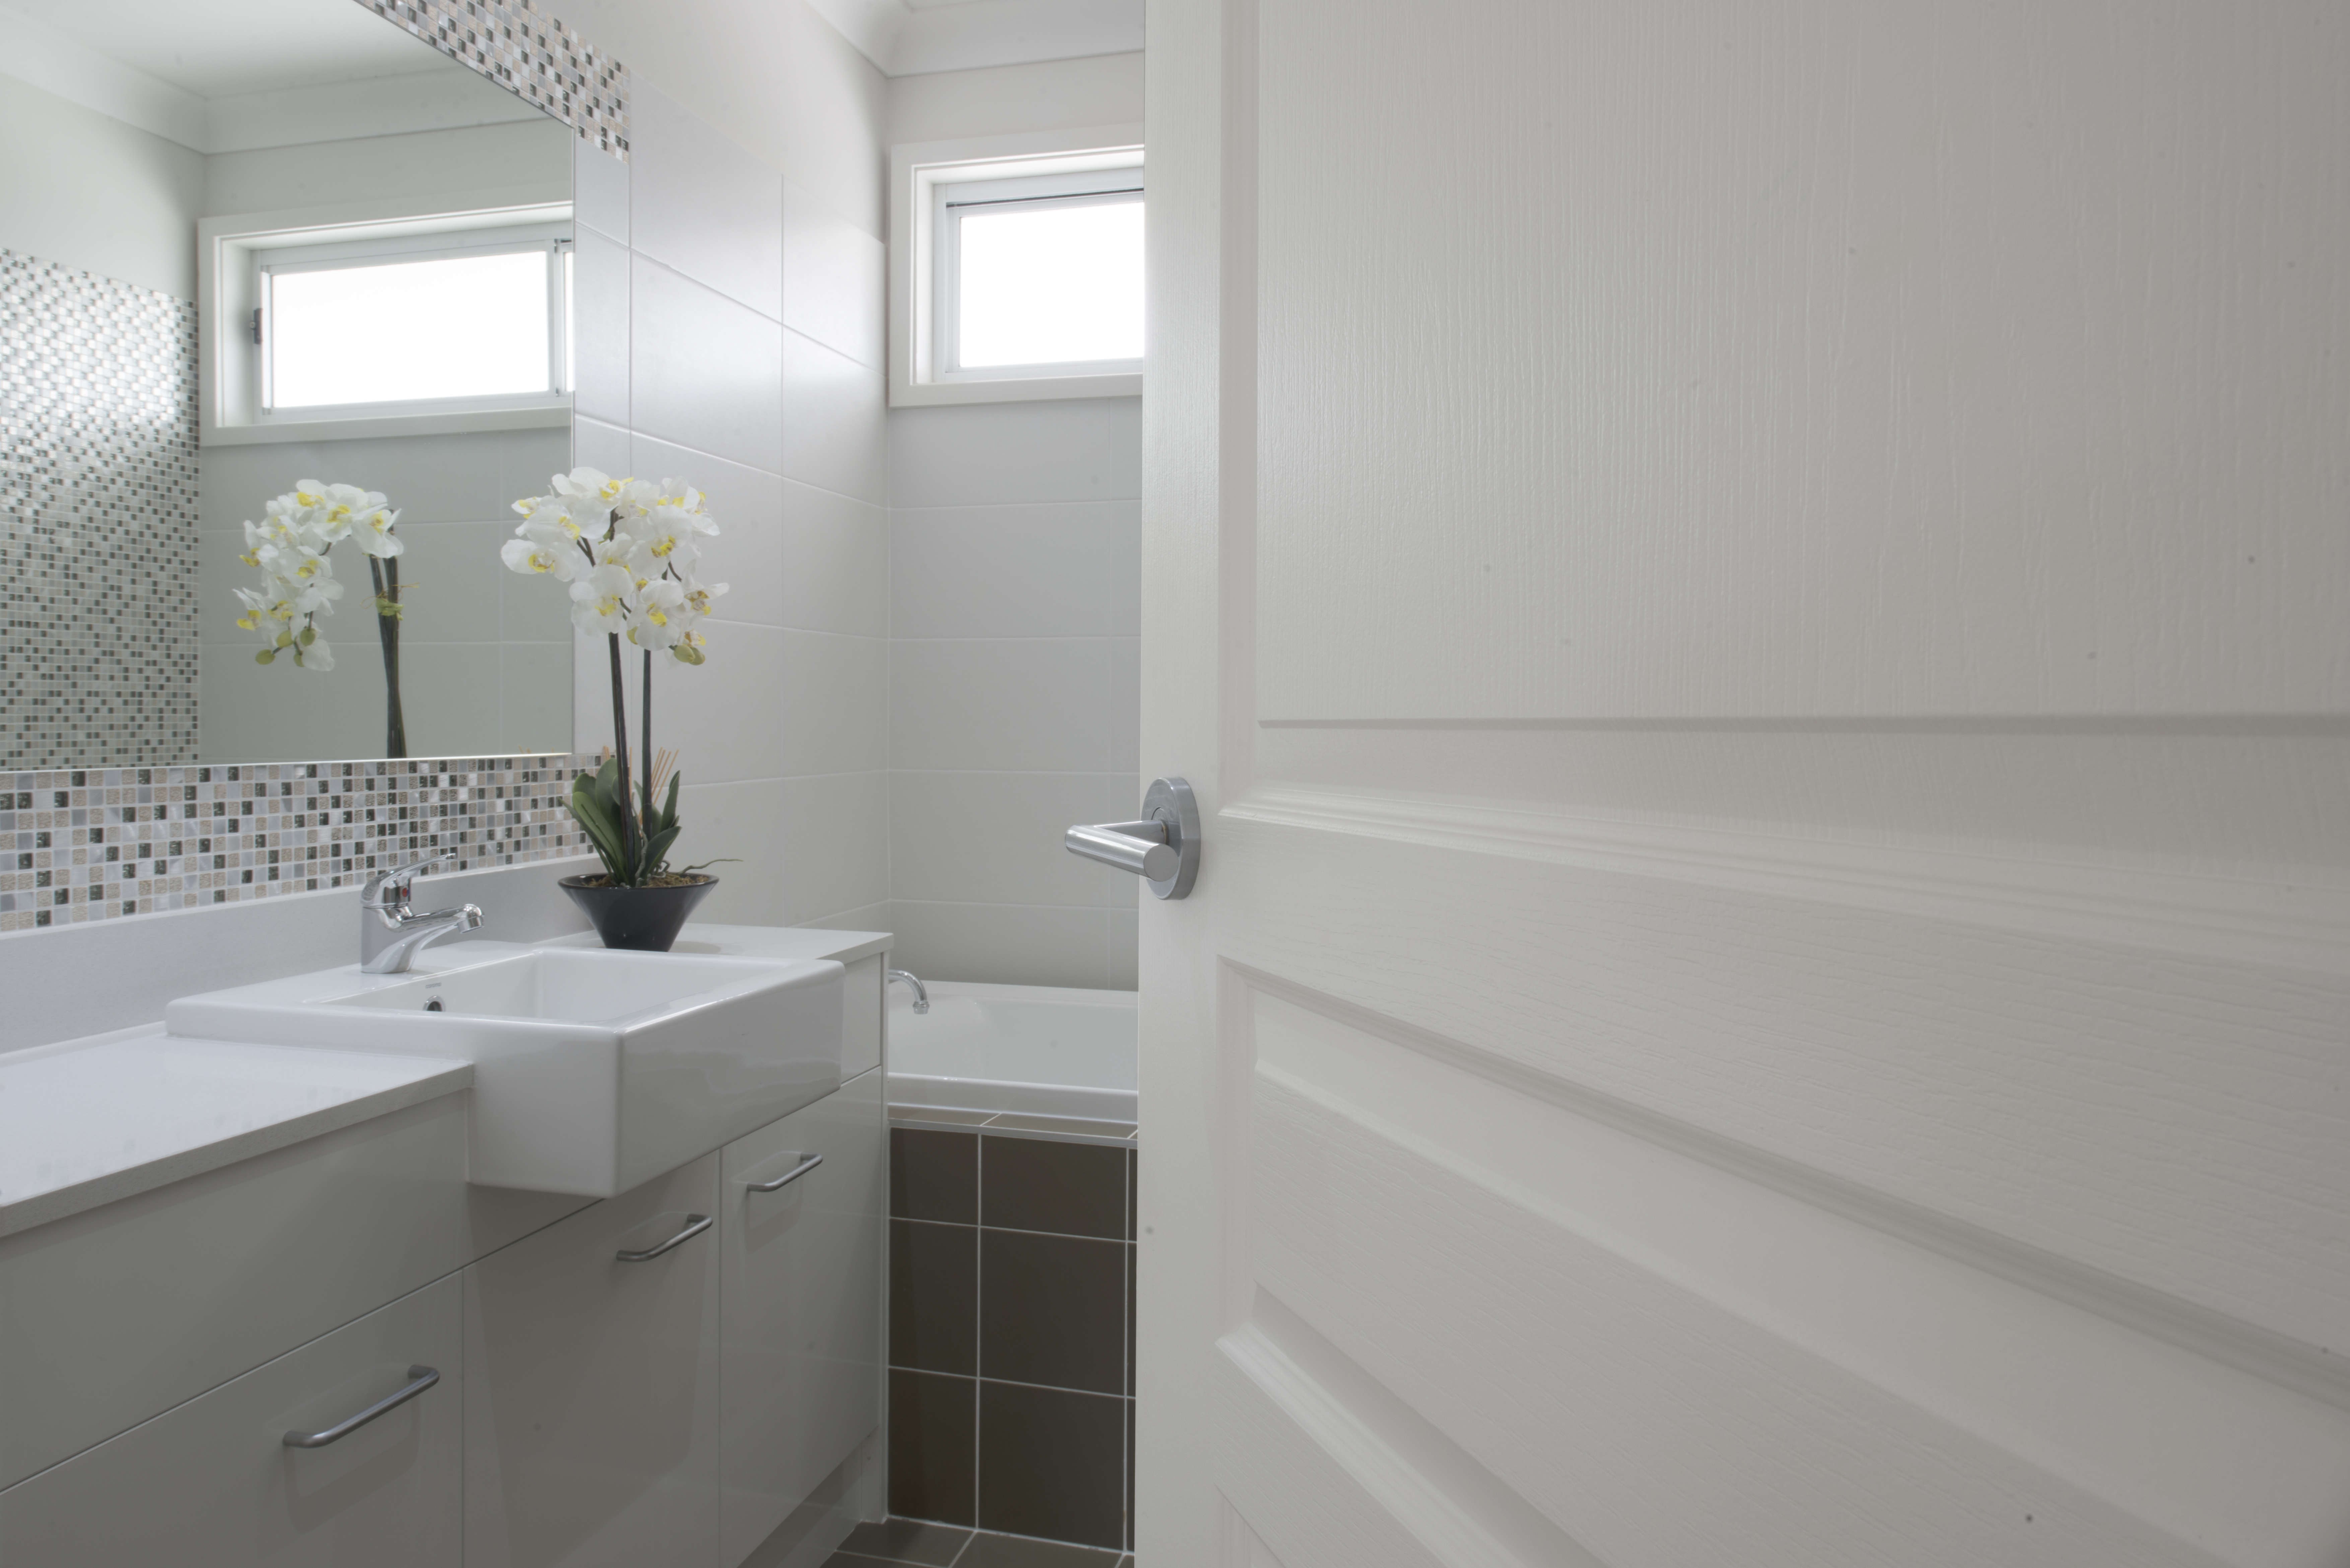
Ready to restyle your home but not sure how to start? How about upgrading an existing door? Renovation expert Naomi Findlay may just be the inspiration you need. You don’t have to be a DIY expert to make this simple change. So, what are you waiting for?
A simple door upgrade can change the look and feel of a whole room. Maybe you want to add a little splash of colour to a white room. Or you want to add a gorgeous barn door as a décor piece. View all our internal door styles here.
Once you have selected and received your door, here are the steps to take.
Measuring and trimming the new door
At this stage, your first priority is the door fitting in the frame. And how better to measure a new door than by using your existing door as a reference?
To do this, place your new door on top of your existing door and clamp in place. Make sure to align the hinge and top side.
From here, mark any excess and trim to size.
Then you can mark the locations of the hinges and chisel them out. This is so you can screw them in place!
Of course – you might be able to skip this step. If the Hume product you’re after is customisable, you can order it to fit the existing frame!
Test, test, test!
Make sure to test the fit of the new door before doing anything else.
Ensure it swings correctly, and fits in the frame nicely – the last thing you need from your new door is it obstructing part of the floor/room.
But since you used your existing door for measurements, it should be perfect!
Painting the new door
Once you have picked your colour, you can begin painting!
Make sure to seal the top and bottom, as well as both faces with undercoat. Sealing is an important step that some people forget – don’t be one of those unlucky few!
Then add two topcoats of your selected paint.
When the paint is dry
When the paint is dry you can begin installing the hardware.
First, install the hinges. Make sure they are nice and secure.
Then you can install the door jamb and strike plate.
The final part of hardware is the new doorknob and lock, or any other door accessories you’ve picked! Be sure to follow the instructions that came with the accessories.
If you need more instruction for this section, watch our How To video here.
The final test
Fix the door in place, and test it out.
Make sure the fit is nice, and it swings how you want it to.
Then, admire your handywork and your brand new door!
Welcome to the world of DIY.
If you have questions about this or any other Hume Doors DIY, please contact us.
